Build Your Organisation Structure
Build Your Organisation Structure is the one-time setup checklist for a new SWA tenant. The steps are ordered so each one depends on data created in the previous step — work through them top-to-bottom and every page in the rest of the product will respect the hierarchy you build.
Every step on the page includes an Open → link that jumps straight to the admin page where the action is performed.
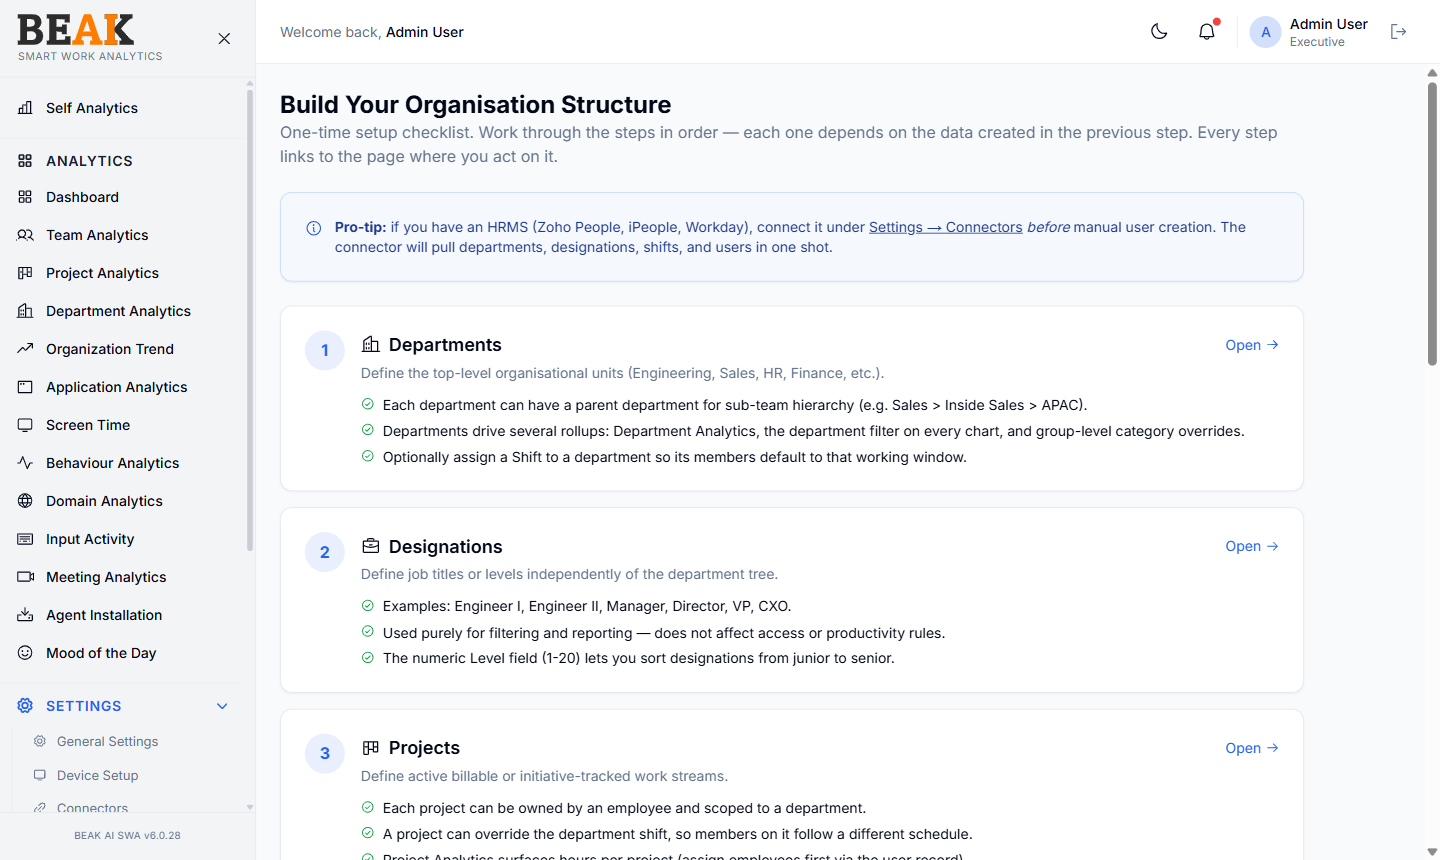
Note: If your organisation runs an HRMS (Zoho People, iPeople, Workday), connect it under Connectors before starting manual data entry. The connector pulls departments, designations, shifts, and users in one shot — skip ahead to step 5 (Roles) afterwards.
1. Departments
Define the top-level organisational units (Engineering, Sales, HR, Finance, etc.) — this is the spine of every roll-up in the rest of the product.
- Parent department — Each department can have a parent for sub-team hierarchy (e.g.
Sales > Inside Sales > APAC). - Rollups — Departments drive Department Analytics, the department filter on every chart, and group-level category overrides.
- Optional shift — Assign a Shift to a department so its members default to that working window.
Open: Departments.
2. Designations
Define job titles or levels independently of the department tree. Designations are used purely for filtering and reporting — they do not affect access or productivity rules.
- Examples —
Engineer I,Engineer II,Manager,Director,VP,CXO. - Level field — The numeric
Levelfield (range 1–20) lets you sort designations from junior to senior in reports.
Open: Designations.
3. Projects
Define active billable or initiative-tracked work streams. Projects scope the Project Analytics view and let you override department-level shifts.
- Ownership — Each project can be owned by an employee and scoped to a department.
- Shift override — A project can override the department shift, so members on it follow a different schedule.
- Hours per project — Project Analytics surfaces hours per project once employees have been assigned via the user record.
Open: Projects.
4. Shifts
Define working windows (start/end time, working days, break minutes). Shifts drive overtime, after-hours, and on-time arrival calculations.
- Seeded default — The
General Shift(09:00–18:00 IST, Mon–Fri) covers most teams out of the box. - Off-hours teams — Add additional shifts for night ops, EMEA support, or any non-standard schedule.
- Resolution precedence —
HRMS-synced override > Project > Department > Tenant default > Built-in fallback. The first match wins.
Open: Shifts.
5. Roles
Decide who sees what. Roles bundle permissions across both Analytics and Admin pages.
- Pre-seeded templates — Eight enterprise role templates ship by default —
Executive,HR Manager,Manager,Team Lead,Project Manager,Department Head,Operations Manager,Auditor,CIO,Viewer,Employee. - Permission spec — Each role carries a JSON permission spec that controls which Analytics pages, which Admin pages, whether the user can export, see screenshots, or live-monitor.
- Customising — Clone a role and tweak it for custom needs. Do not edit the seeded templates if you want safe upgrades.
Open: Roles.
6. Categories
Tag applications as Productive, Unproductive, or Neutral — the labels drive the Productive % and Productive Hours KPIs on every dashboard.
- Default scope — Tenant-wide defaults today. Per-department overrides will land in the next release using the new override schema (already in the database).
- Idle and System Locked — Keep these categories as
Unproductiveso off-hours and lock time does not inflate productive %.
Open: Categories.
7. Users
Add the people, then connect them to departments, designations, reporting manager, and role.
- Required fields — Email (must match an allowed domain), first/last name, department, designation, role.
- Reporting Manager — Another user — set this last, after the manager record has been created.
- SSO vs Local — Set
is_sso_user=truefor SSO-only logins (no password required). Otherwise set a strong initial password.
Open: Users.
8. Device Activation
Once users exist, they can install the SWA agent and self-activate via OTP.
- Installer — Users grab the installer from the in-app Agent Installation page or a public download link.
- OTP flow — On first launch the agent prompts for the corporate email; SWA emails a 6-digit code; the user enters it and the device is mapped to the employee.
- OTP storage — OTP storage is database-backed so activation works reliably across all backend pods.
Open: Device Setup.
When You Finish All Eight Steps
- Self Analytics starts populating for every user the moment their agent activates.
- Team Analytics, Department Analytics, and Project Analytics respect the hierarchy you built.
Productive %is computed against the Categories you defined.- Shift-based reports use your tenant default shift unless you set department or project overrides in Shifts.
Best Practices
- Work through the eight steps in order on a brand-new tenant. Skipping ahead leaves dangling references — a user without a department won't appear in Department Analytics.
- Re-open this guide after any major reorg (department restructure, role overhaul, new shift schedule) and walk the affected steps again.
- For tenants on an HRMS connector, treat this page as the validation checklist after the first sync rather than a manual entry checklist.
Related Pages
- Connectors — HRMS sync that short-circuits manual data entry
- Overview — Platform overview and navigation
- Menu Customization — Hide menu items globally once setup is complete