Users & Roles
Note: One screen, one tab per product
Since AI Governance became part of the AI Security & Governance console, Administration → Users & Roles carries a tab per product: AI Security and AI Governance.
The two are governed independently and are not merged — a user can be an administrator in one and hold nothing in the other, and a grant on one tab never confers anything on the other. Each tab is shown only if you can read that product's roles. What follows describes the AI Governance tab.
Administration → Users & Roles is where an administrator controls access to Beak AI Governance: who appears in the tenant, which role each person holds, and what each role is permitted to do. Every management action in the Gateway — creating a model, issuing a virtual key, editing routing, deleting a team — is checked against the signed-in user's permissions, and this page is where those permissions are granted.
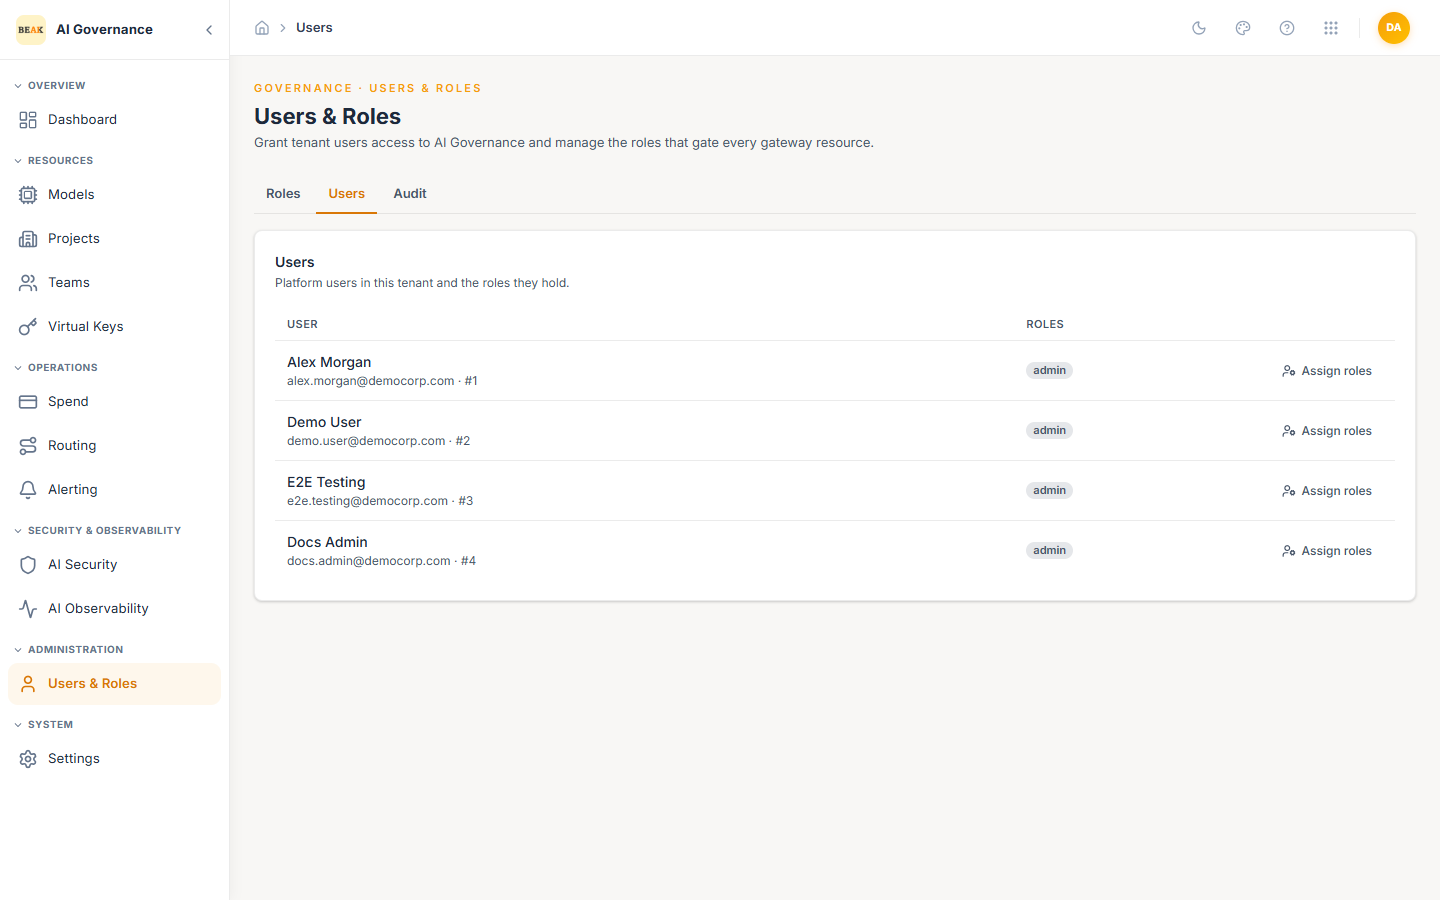
The page has three tabs: Roles, Users, and Audit.
How users get here
Beak AI Governance does not hold passwords or create accounts — identity lives in Beak IAM. A person appears in the Users tab automatically the first time they sign in to AI Governance with their Beak IAM account. There is no "invite" or "add user" action on this page by design; you manage a person's access, not their account.
On that first sign-in the user is granted a starting role automatically:
- A tenant administrator (as marked in Beak IAM) is granted admin.
- Everyone else is granted the default role your tenant has configured for AI Governance.
From then on, changing what someone can do is done here.
Note: A user must also be entitled to the AI Governance product in Beak IAM. Without that entitlement the sign-in is rejected before this page is ever reached, regardless of the roles assigned here.
Users tab
Lists every person in the tenant with their name, email, internal id, and the roles they hold.
To change someone's access, select Assign roles on their row, tick the roles they should hold, and save. Changes take effect on their next request — a user whose roles change while signed in sees the new permissions without signing out.
A user may hold more than one role; their effective permissions are the union of every role they hold.
Roles tab
A role is a named bundle of permissions.
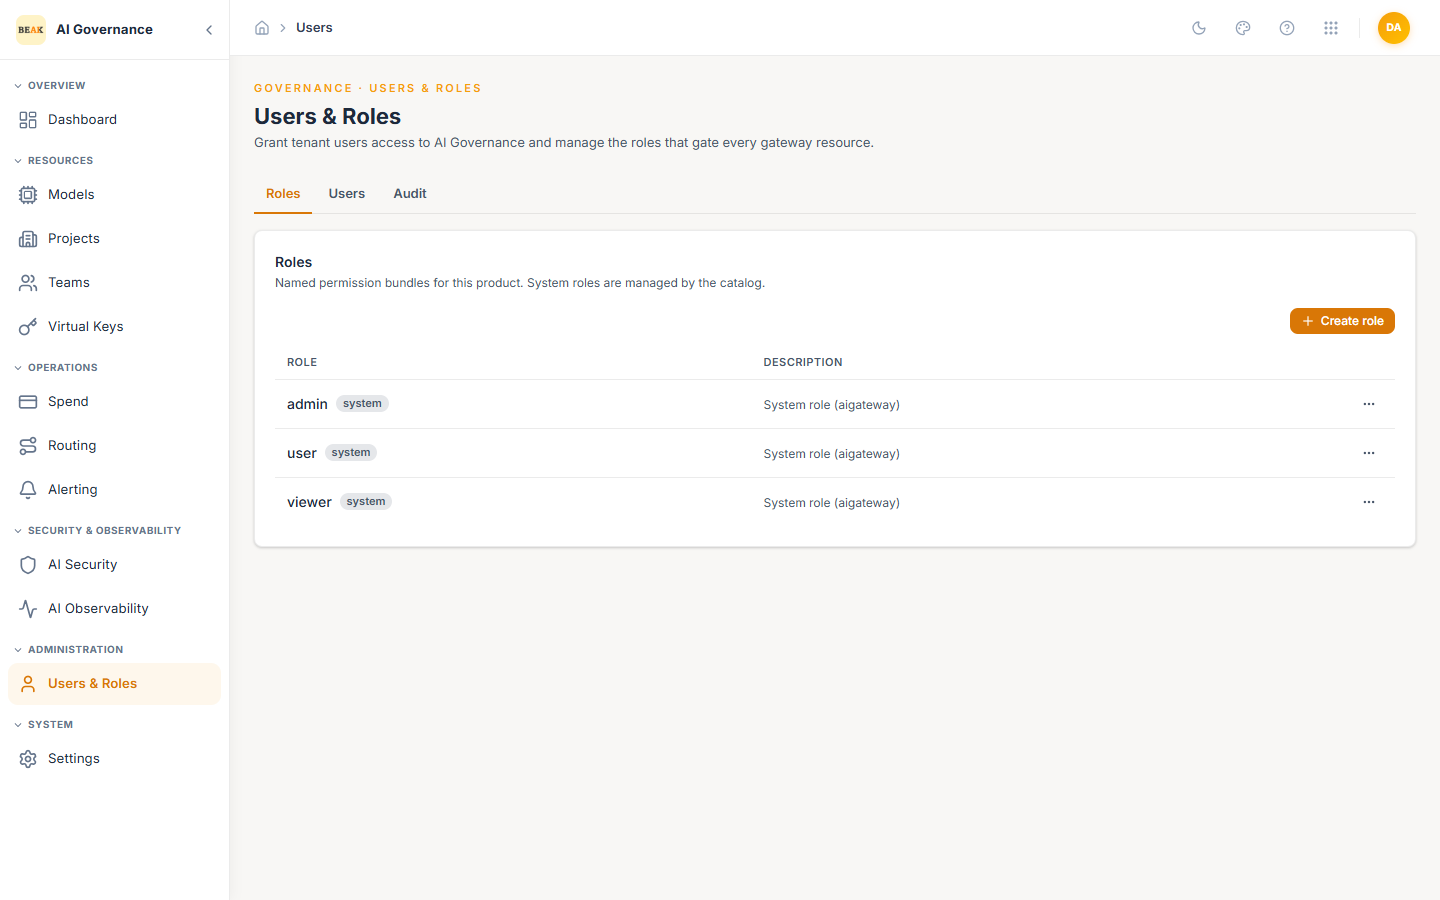
Three system roles ship with the product. They are managed by the platform and cannot be edited or deleted:
| Role | Intended for | What it allows |
|---|---|---|
| admin | Platform owners | Everything, including managing roles and assignments on this page. |
| user | Day-to-day operators | View everything; create and update models, projects, teams, virtual keys, routing and alerts; run connectivity and alert tests. Cannot delete anything and cannot manage roles. |
| viewer | Auditors, read-only stakeholders | View models, projects, teams, virtual keys, spend, credentials, routing and alerts. No changes of any kind. |
Creating a custom role
Select Create role, give it a name and description, then choose its permissions. Permissions are grouped by the resource they apply to (models, projects, teams, keys, spend, credentials, routing, alerts) with a separate action for each — for example models:read, models:create, models:update, models:delete, models:test.
Custom roles are useful when the built-in three are too broad. A finance stakeholder who should see cost but nothing else, for instance, needs only spend:read and models:read.
Deleting a role removes it from everyone who holds it. Users left with no role keep only what any remaining role grants them.
Audit tab
A chronological record of every change made on this page — role created, role updated, role deleted, roles assigned to a user — with who made the change and when. Use it to answer "who granted this person access, and when?"
Who can see this page
The Users & Roles entry appears in the sidebar only for users whose role permits managing authorization — in practice, admin. Other users do not see the Administration section at all. The permission is also enforced by the backend, so the page cannot be reached by navigating directly to its URL.
Rolling this out on an existing tenant
Roles are granted at first sign-in, and that only happens once per user. On a tenant that was already in use before per-user roles were enforced, existing users have no role yet and will be denied access until one is assigned. Grant an administrator their role first — from this page if you already have access, or via the platform team — then assign the rest from the Users tab.
Best Practices
- Grant the narrowest role that still lets someone do their job.
usercovers day-to-day configuration without the ability to delete a model, project or virtual key — reserveadminfor the small group who genuinely need to change access. - Keep at least two people on
admin. A single admin who leaves the company means no one can grant access, and roles can only be restored by the platform team. - Prefer a custom role over
adminfor stakeholders who only need visibility. A finance reviewer needsspend:readandmodels:read, not the ability to edit routing. - Review the Audit tab after any access change you did not make yourself. It is the only record of who granted what, and it is far easier to read soon after the change than months later.
- Assign roles to leavers' replacements rather than reusing accounts. Identity is owned by Beak IAM, so deactivating someone there is the correct way to remove access — clearing their roles here alone does not remove their account.
Related Pages
- Settings — appearance and application metadata.
- Virtual Keys — programmatic access, scoped by key rather than by user role.
- Setting Up a New Project — projects and teams, whose budgets are independent of the roles on this page.