Device Enrollment
This page describes the end-to-end process for enrolling devices into Beak MDM across the three supported operating systems: iOS / iPadOS, macOS, and Windows. Every enrollment flow involves two participants — the IT Admin, who generates and shares the enrollment artifact (QR code, profile, or URL) from the Beak console, and the Employee (End User), who opens the artifact on the target device and completes enrollment. Once enrollment completes, the device is registered under the correct company and location and becomes available for management.
Before You Begin
- Console access — The IT Admin must have access to the Beak console with permission to view the Downloads section.
- Company configured — The target company must be configured with a default location set.
- Device connectivity — The target device must have internet connectivity and run a supported operating system.
- Valid credentials — The end user must have valid credentials for the account type required by the platform.
Windows enrollment additionally requires the Azure AD configuration described in Prerequisites — a Work or School Account, an App Registration, the redirect URL, and domain-to-company mapping.
Note: All three enrollment flows are driven from the Downloads tab of the Beak console. The enrollment artifact is scoped to the selected company and location, so confirm the correct company and location are selected before sharing it.
iOS / iPadOS Enrollment
iOS and iPadOS devices are enrolled via an Apple enrollment profile. The IT Admin generates a location-scoped enrollment artifact; the employee installs the profile by scanning a QR code or opening a profile link in Safari.
Part A — IT Admin: Generate the Enrollment Artifact
- Log in to the Beak console.
- From the company picker at the top, select the company for which the device is being enrolled.
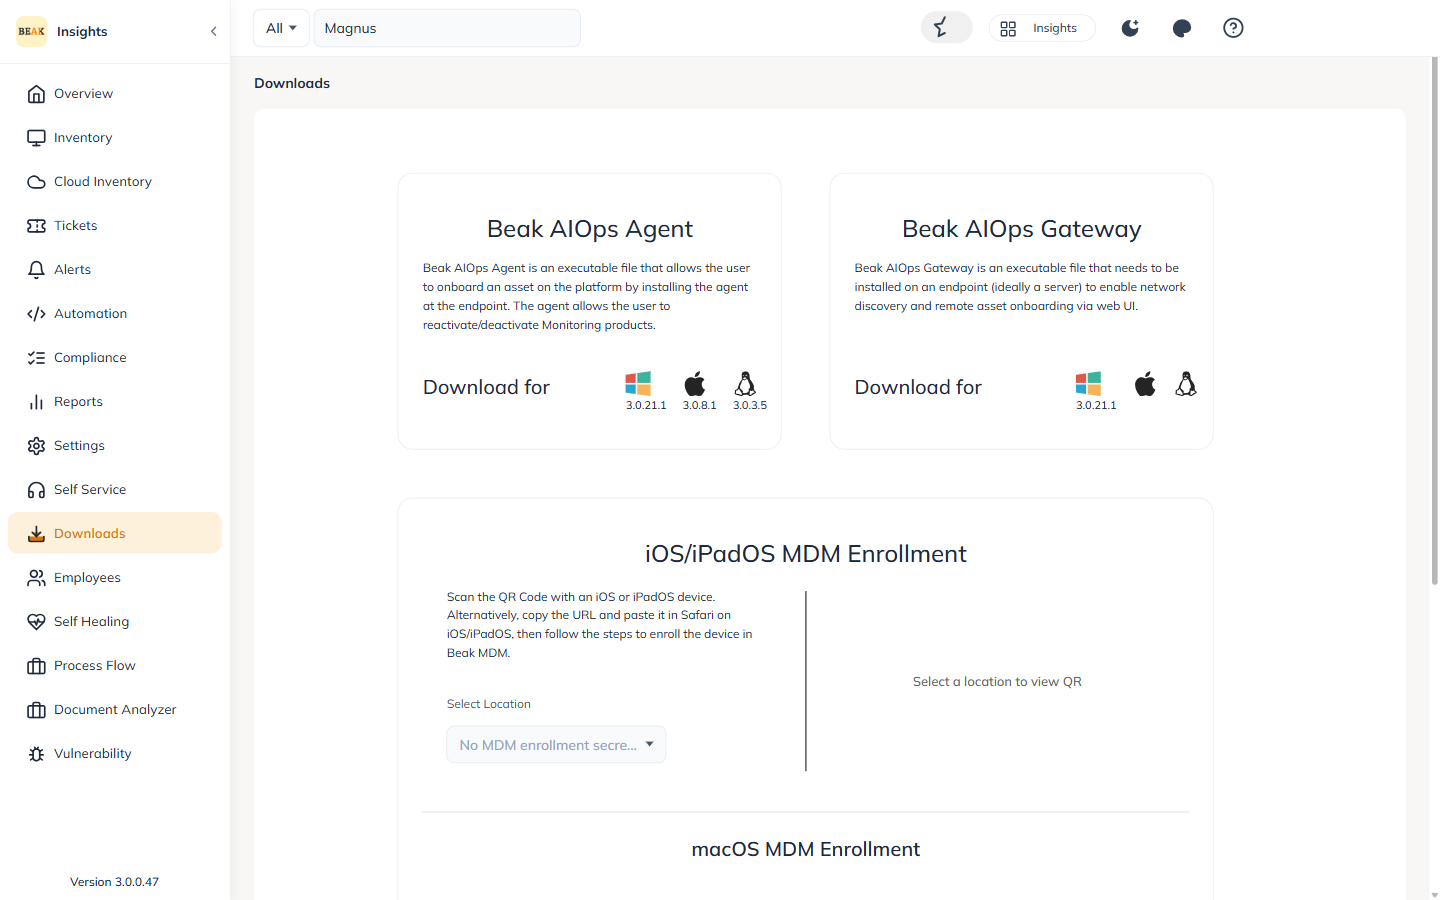
- In the left navigation menu, click Downloads.
- Locate the iOS / iPadOS enrollment section.
- Generate the enrollment secret for the desired location. The artifact is scoped to the selected company and location.
- Share the QR code or the profile link with the employee through email, chat, or a helpdesk ticket.
Note: The enrollment artifact is scoped to a specific company and location. Confirm the correct company and location are selected before sharing the QR code or profile link.
Part B — Employee: Enroll the iOS / iPadOS Device
- Open Safari on the iOS / iPadOS device.
- Scan the QR code shared by the IT Admin, or open the enrollment profile link directly in Safari.
- Allow the configuration profile to download when prompted by Safari.
- Open the downloaded profile from device Settings and follow the on-screen prompts to install it.
- Once installed, the device is registered in Beak MDM under the configured company and location and begins receiving management policies.
macOS Enrollment
macOS devices are enrolled via an enrollment profile generated by the IT Admin. The employee downloads and installs the profile on the macOS device.
Part A — IT Admin: Generate the Enrollment Profile
- Log in to the Beak console.
- From the company picker at the top, select the company for which the device is being enrolled.
- In the left navigation menu, click Downloads.
- Locate the macOS enrollment section.
- Generate the enrollment profile for the desired location. The profile is scoped to the selected company and location.
- Share the enrollment profile file with the employee through email, chat, or a helpdesk ticket.
Part B — Employee: Enroll the macOS Device
- Download the enrollment profile file shared by the IT Admin onto the macOS device.
- Open the downloaded profile and follow the on-screen prompts to install it.
- Authenticate when prompted by macOS to complete profile installation.
- Once installed, the device is registered in Beak MDM under the configured company and location.
Note: macOS is currently under
Partial Support. Some Beak MDM functionalities may not be available on this platform — contact the Beak Support Team for the current feature matrix.
Windows Enrollment
Windows devices are enrolled through the native Work or School Account flow. The IT Admin generates an email-based enrollment URL; the employee opens it on the Windows device and authenticates with their corporate Azure AD account. No additional client installation is required by the end user.
Part A — IT Admin: Generate the Enrollment URL
- Log in to the Beak console.
- From the company picker at the top, select the company for which the device is being enrolled.
- In the left navigation menu, click Downloads.
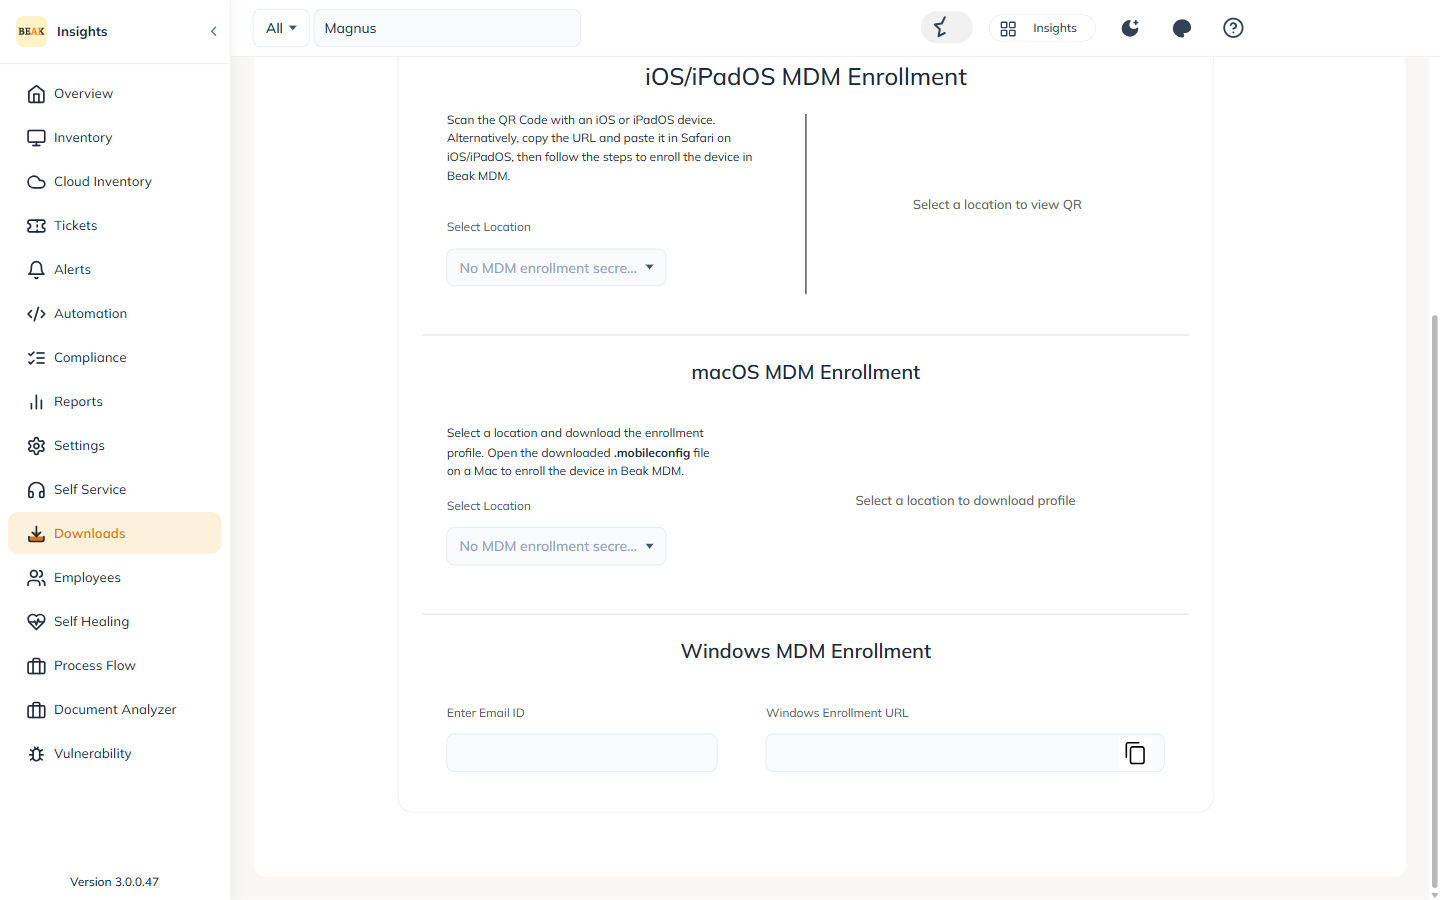
- Scroll down to the Windows MDM Enrollment section.
- In the Enter Email ID field, type the employee's email address (for example,
user@domain.com). - The Windows Enrollment URL field is populated automatically based on the email provided.
- Click the copy icon to the right of the URL field to copy the enrollment URL.
- Share the copied URL with the employee through email, chat, or a helpdesk ticket.
Note: The Windows Enrollment URL is generated from the email address entered. Always verify that the correct email belongs to the intended employee before sharing the URL.
Part B — Employee: Enroll the Windows Device
- Open the Windows Enrollment URL received from the IT Admin in a browser on the Windows device.
- The browser automatically redirects to the Work or School Account page in Windows System Settings.
- Enter the password for the corporate account and complete authentication.
- Once authentication succeeds, the device is enrolled in Beak MDM and starts receiving the policies configured for the company.
Important: The device is enrolled under the default location configured for the selected company. If the device needs to be moved to a different location after enrollment, the IT Admin can reassign it from the Beak console.
Location-Scoped Enrollment
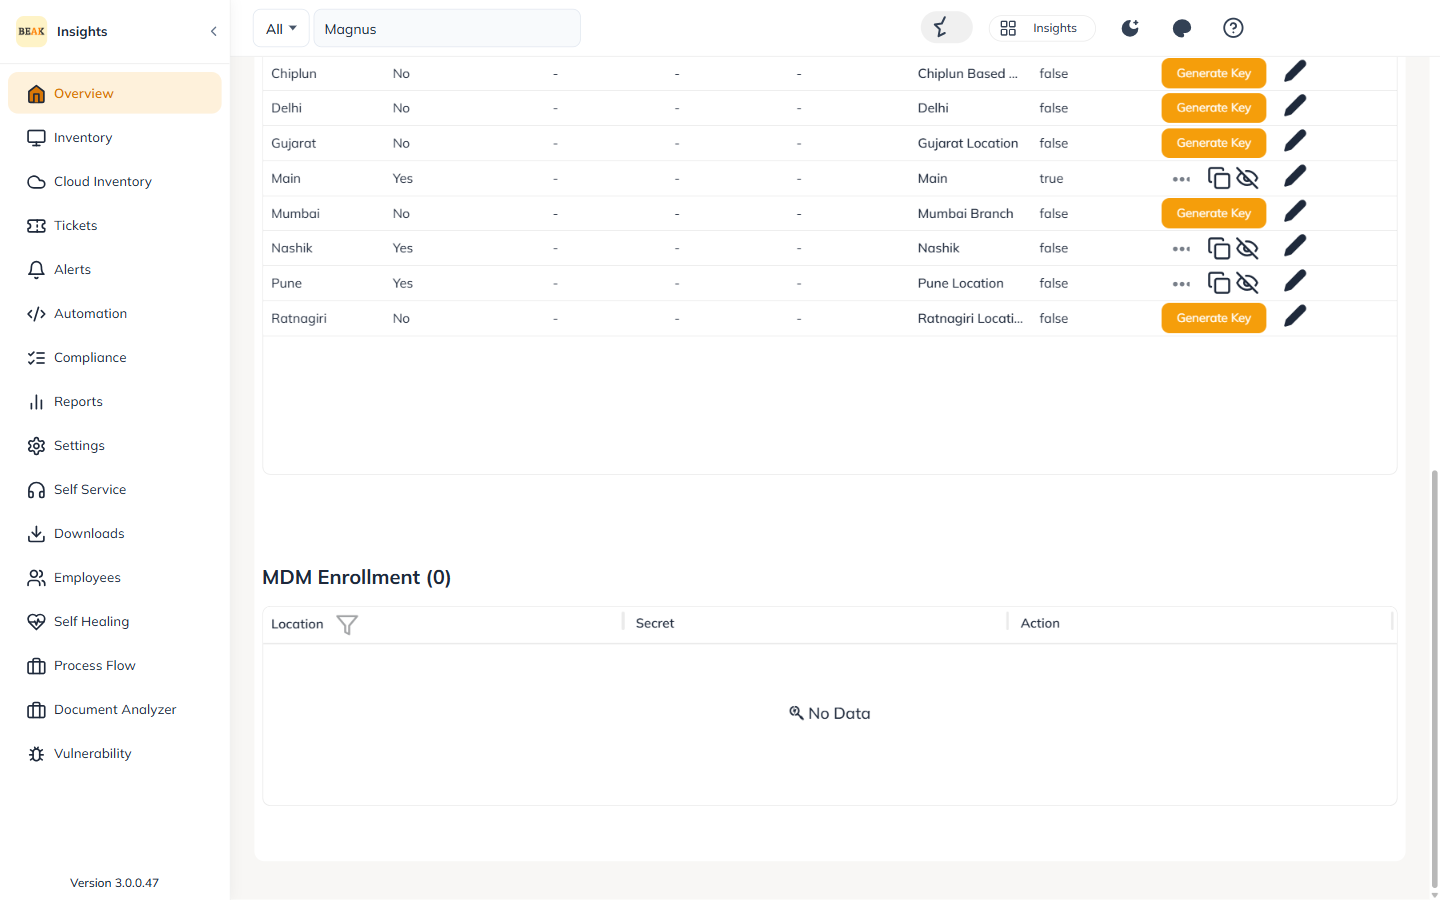
For a selected company, enrollment can be managed per location from Clients → Locations. Scroll to the MDM enrollment section on a location to generate or retrieve the enrollment artifact scoped to that location. iOS/iPadOS and macOS artifacts register the device under the chosen company and location, while Windows devices are registered under the company's default location.
End-to-End Process Summary
The table below summarizes the enrollment flow across all three supported platforms.
| Stage | iOS / iPadOS | macOS | Windows |
|---|---|---|---|
| Artifact generated by IT Admin | QR code / profile link | Enrollment profile file | Email-based Enrollment URL |
| Source in console | Downloads section | Downloads section | Downloads → Windows MDM Enrollment |
| Scope of artifact | Company + location | Company + location | Resolved by email domain |
| Delivery to employee | Email, chat, ticket | Email, chat, ticket | Email, chat, ticket |
| End-user action | Scan QR / open in Safari, install profile | Download and install profile | Open URL, authenticate via Work or School Account |
| Authentication | Not required at enrollment | Local admin authentication on macOS | Azure AD (Work or School Account) |
| Result | Registered under selected company and location | Registered under selected company and location | Enrolled under default location of resolved company |
Key Points
- Single entry point — All three enrollment flows are driven from the Downloads tab of the Beak console.
- Location-scoped (iOS/iPadOS, macOS) — The enrollment artifact is generated for a specific company and location and registers the device accordingly.
- Email-driven (Windows) — The Windows Enrollment URL is tied to the employee's email address and resolves the correct company via domain-to-tenant mapping.
- Native Windows flow — Employees complete enrollment through the standard Windows Work or School Account screen — no additional client installation is required.
- Default location (Windows) — All devices enrolled through the Windows flow are registered under the default location of the resolved company.
- Post-enrollment management — Once enrolled, devices become available for policy execution, application deployment (Windows), and the other management actions supported on each platform.
Related Pages
- Prerequisites — Requirements to complete before enrollment
- Device Inventory — Confirm and manage enrolled devices
- Policies — Apply configuration policies to enrolled devices
- Feature Matrix — Feature availability across platforms
For assistance with enrollment, the Azure AD App Registration, redirect URL configuration, or domain mapping, reach out to the Beak Support Team.