BEAK DESK – Ticketing Guide
This guide provides step-by-step instructions on how to use the BEAK DESK portal to manage tickets, configure settings, generate reports, and handle administrative tasks such as user management and permissions.
Add a Ticket to BEAK DESK
-
Log in to the BEAK DESK portal using your organization’s custom URL:
https://beakdesk.CLIENT_NAME.com/ -
Click on Add Ticket
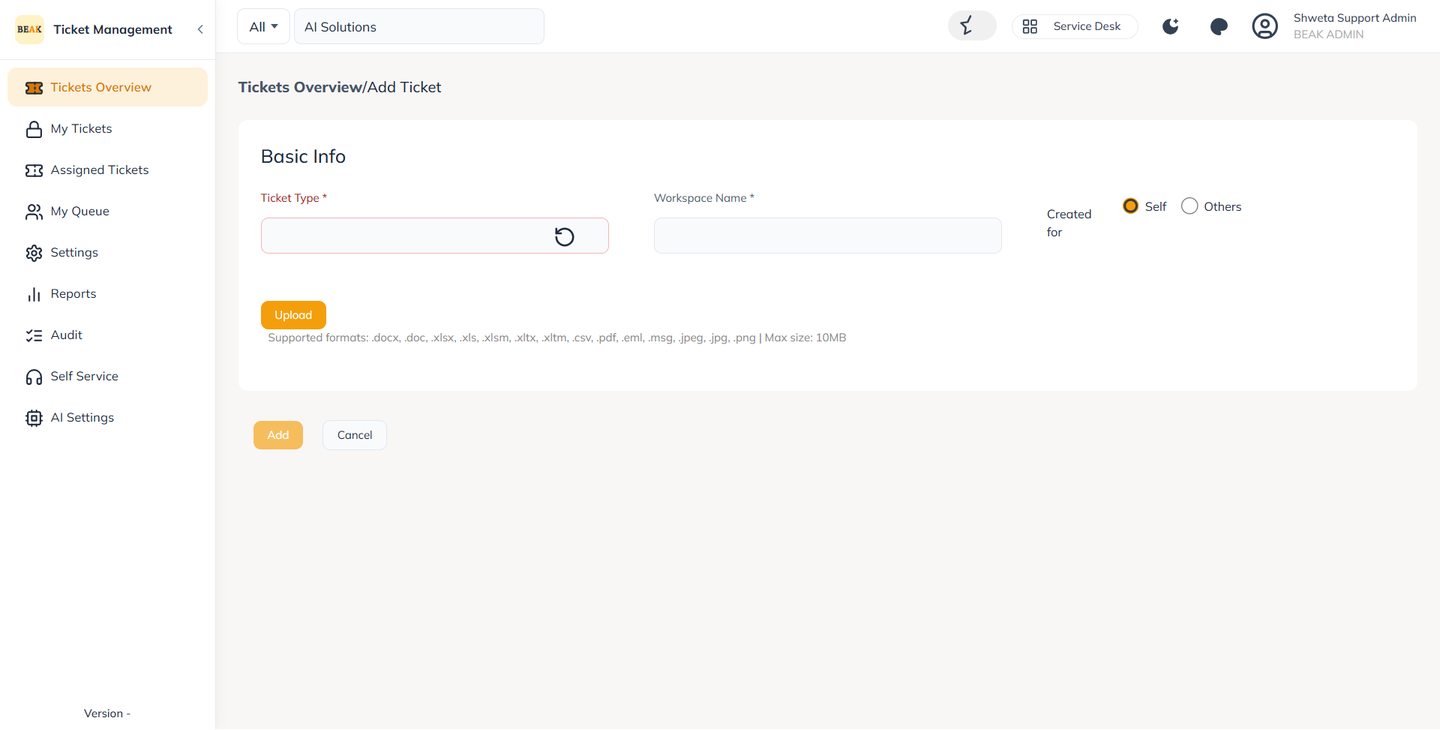
-
Fill in the ticket details as shown below:
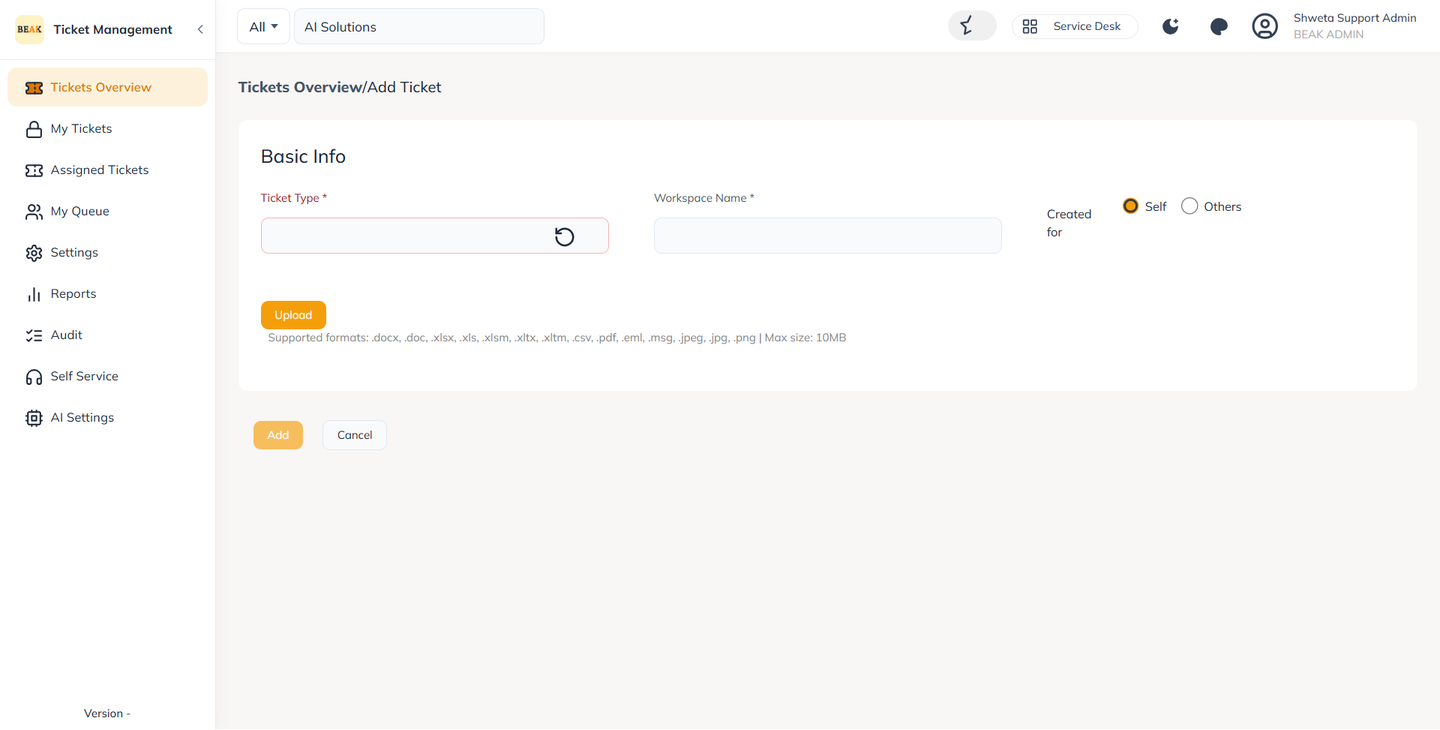
Sample Ticket Details:
- Title: Laptop Display is not Working
- Severity: Major
- Assigned To:
amal@beakops.com - Group Name: Hardware
- Sub-Group Name: Display Laptop Issues
- Upload: Use this option to attach any relevant files, photos, or documents
-
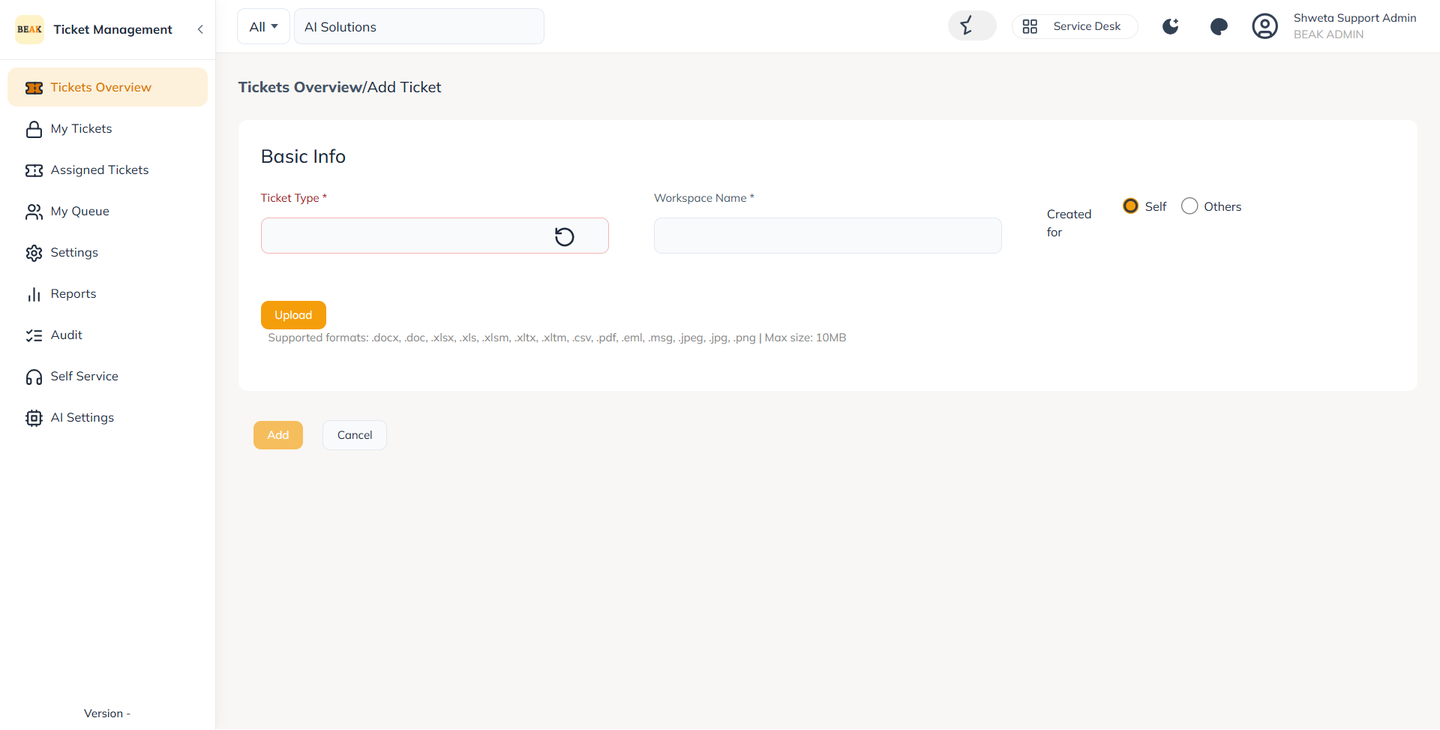
Click Add to submit the ticket
-
Once added, the ticket will appear in the Tickets Overview section
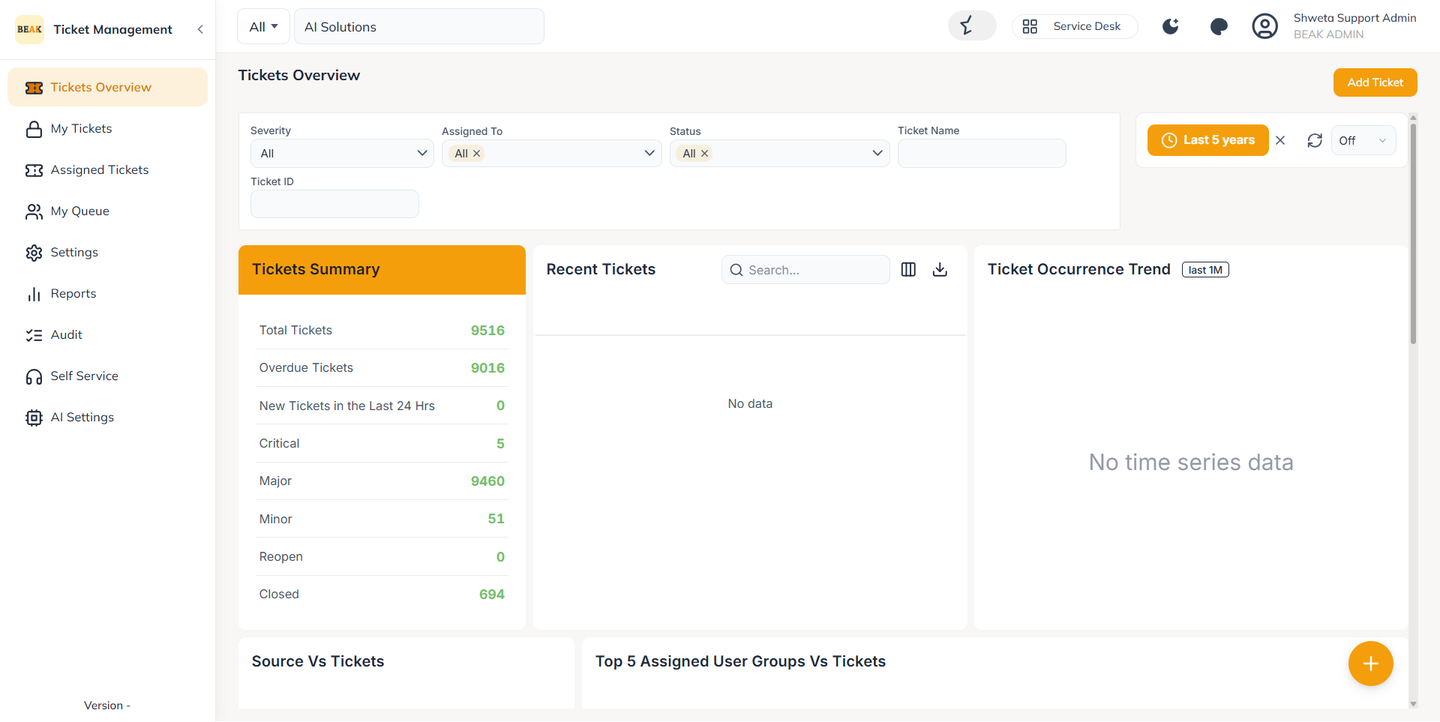
Ticket age refers to the amount of time that has passed since the ticket was created, measured until its resolution or closure.
View or Modify Ticket Details
-
To view a ticket in detail, click on the Ticket ID.
-
BEAK DESK provides the following ticket actions:
-
Pause Ticket
Temporarily puts the ticket on hold and stops the response/resolution timer. -
Close Ticket
Marks the ticket as resolved or completed. -
Edit Ticket
Modify ticket details such as title, description, or priority. -
Add Notes
Record comments, updates, or additional context. -
View History
Shows a full audit trail of changes, comments, and timestamps.
Other Menus
My Tickets
All tickets assigned to you will appear in the My Tickets section.
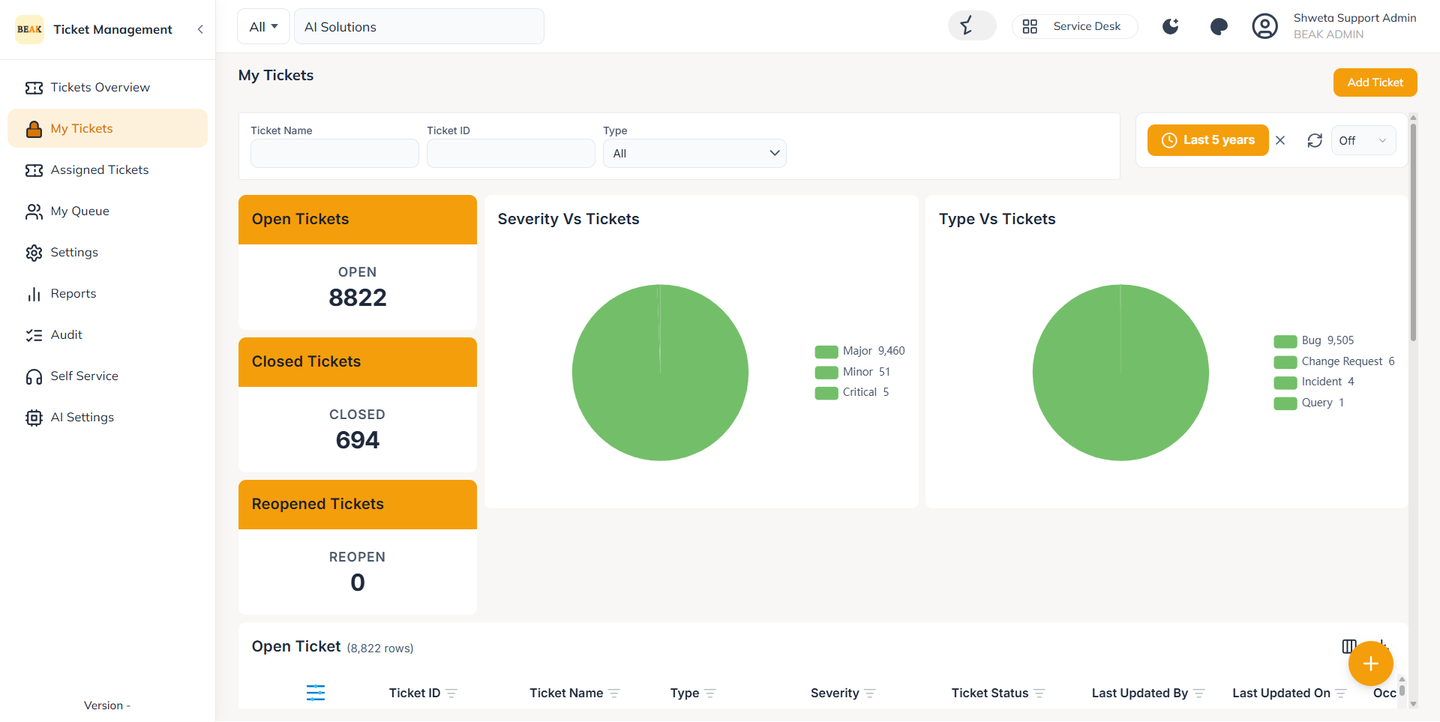
You can also Edit, Pause, or Close tickets directly from this view.
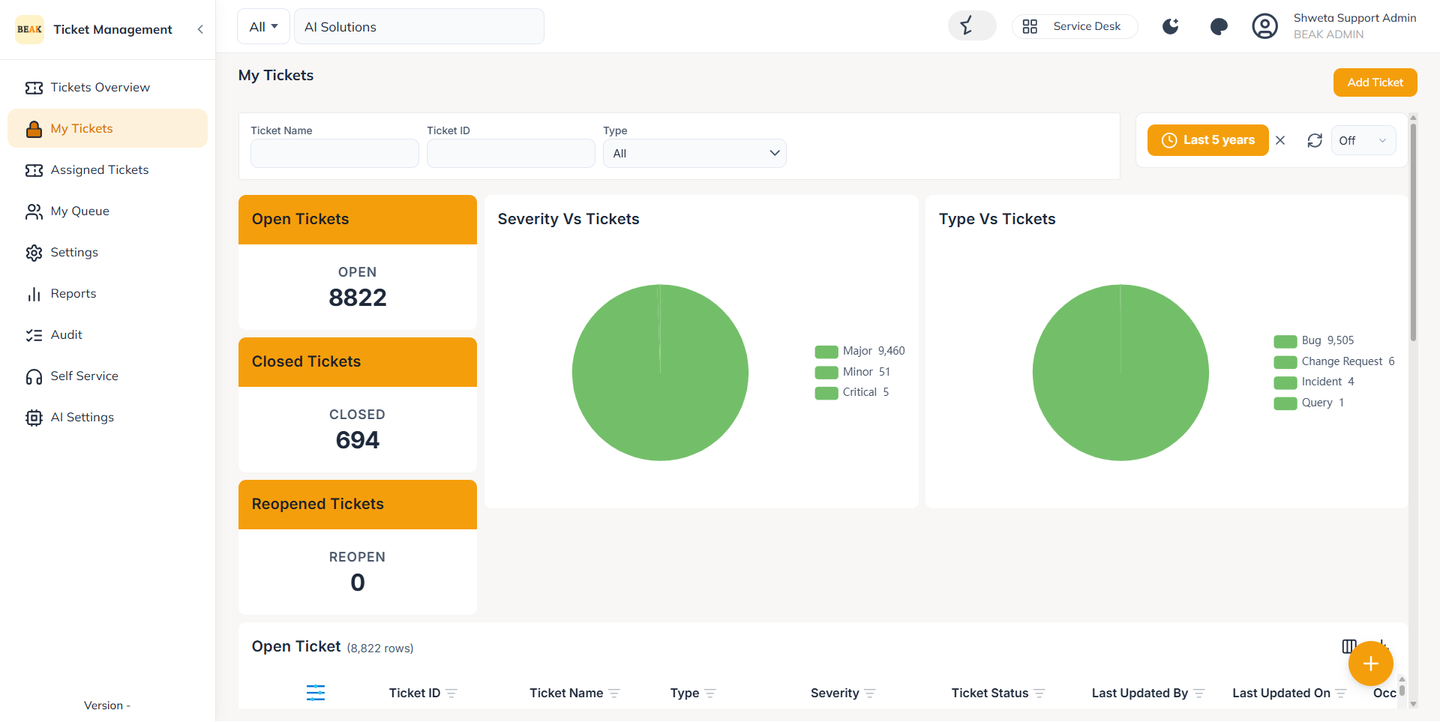
My Overdue Tickets
This section displays tickets that have exceeded their defined Service Level Agreement (SLA) timeframe without being resolved or closed.
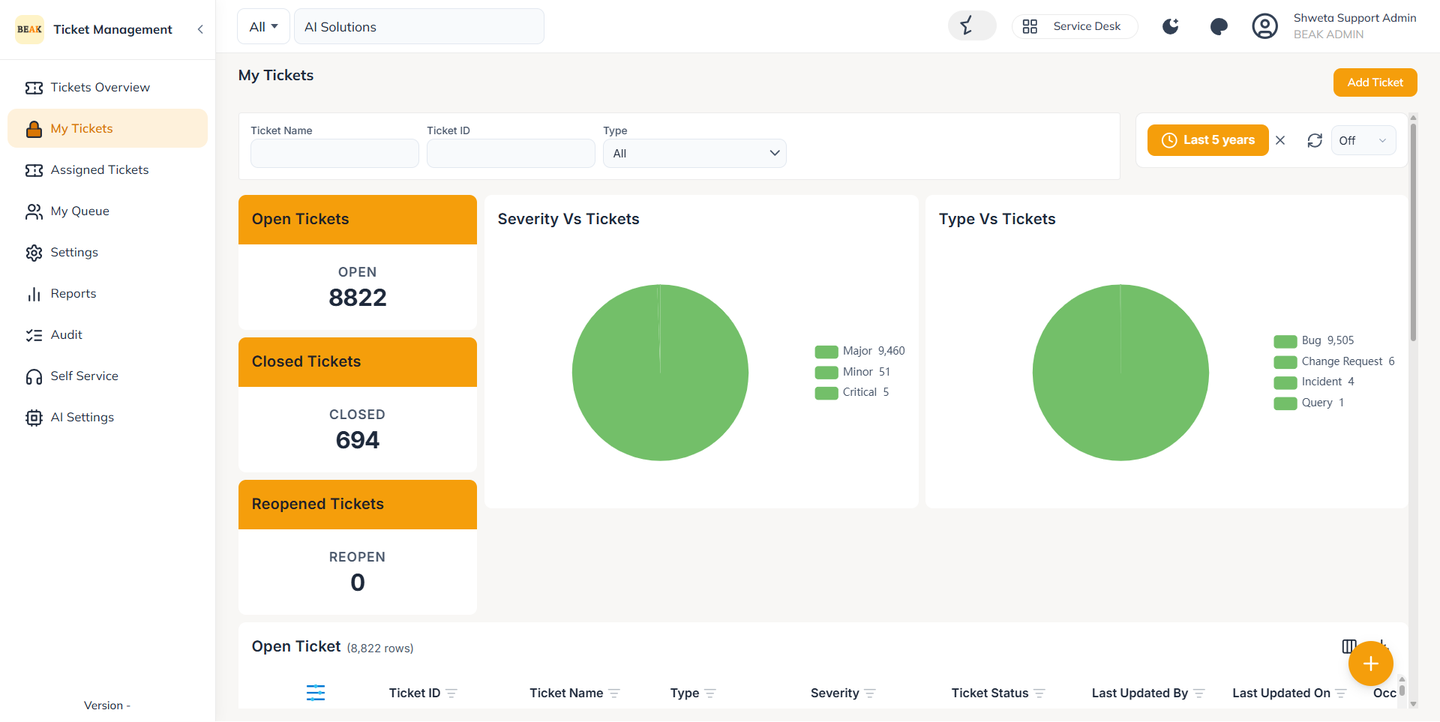
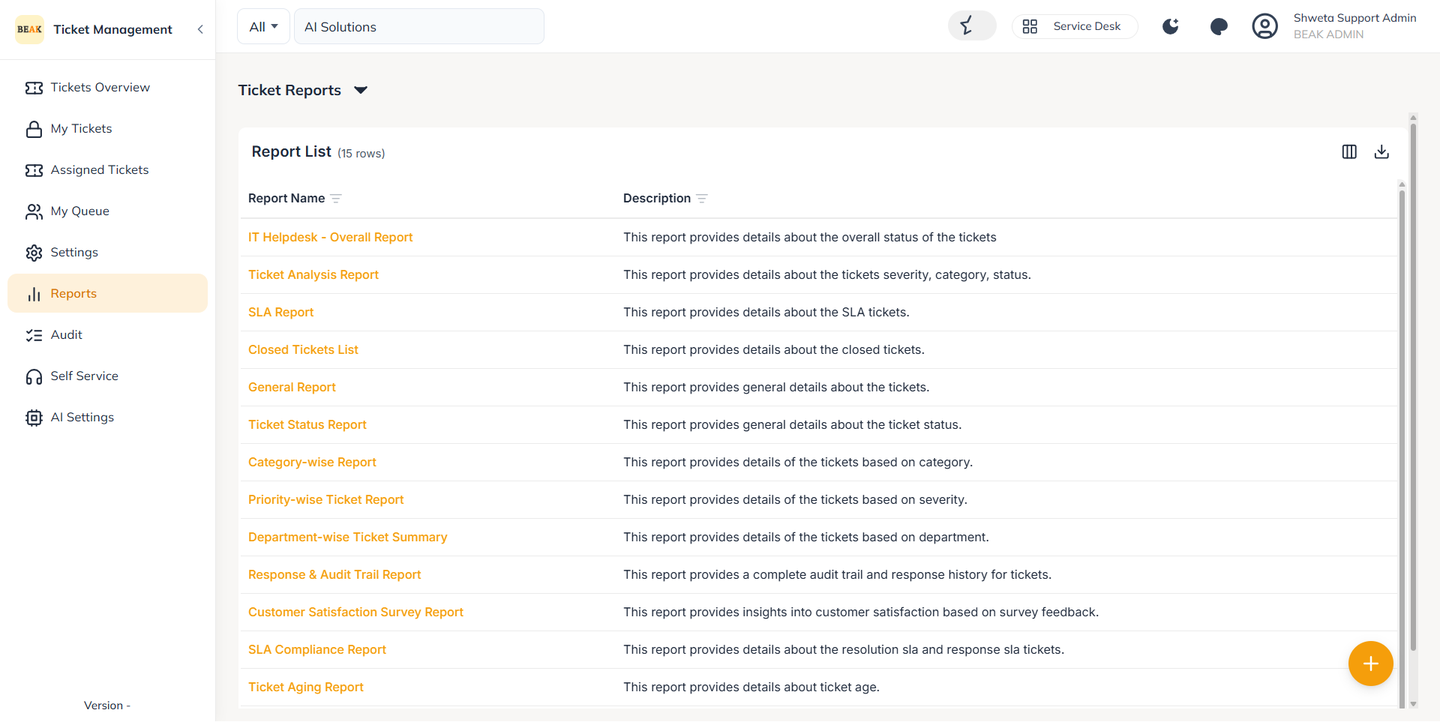
Reports
BEAK DESK includes the following reporting options:
- Closed Tickets List: Provides a detailed list of tickets that have been closed.
- SLA Open Tickets: Displays open tickets and their associated SLA information.
Settings
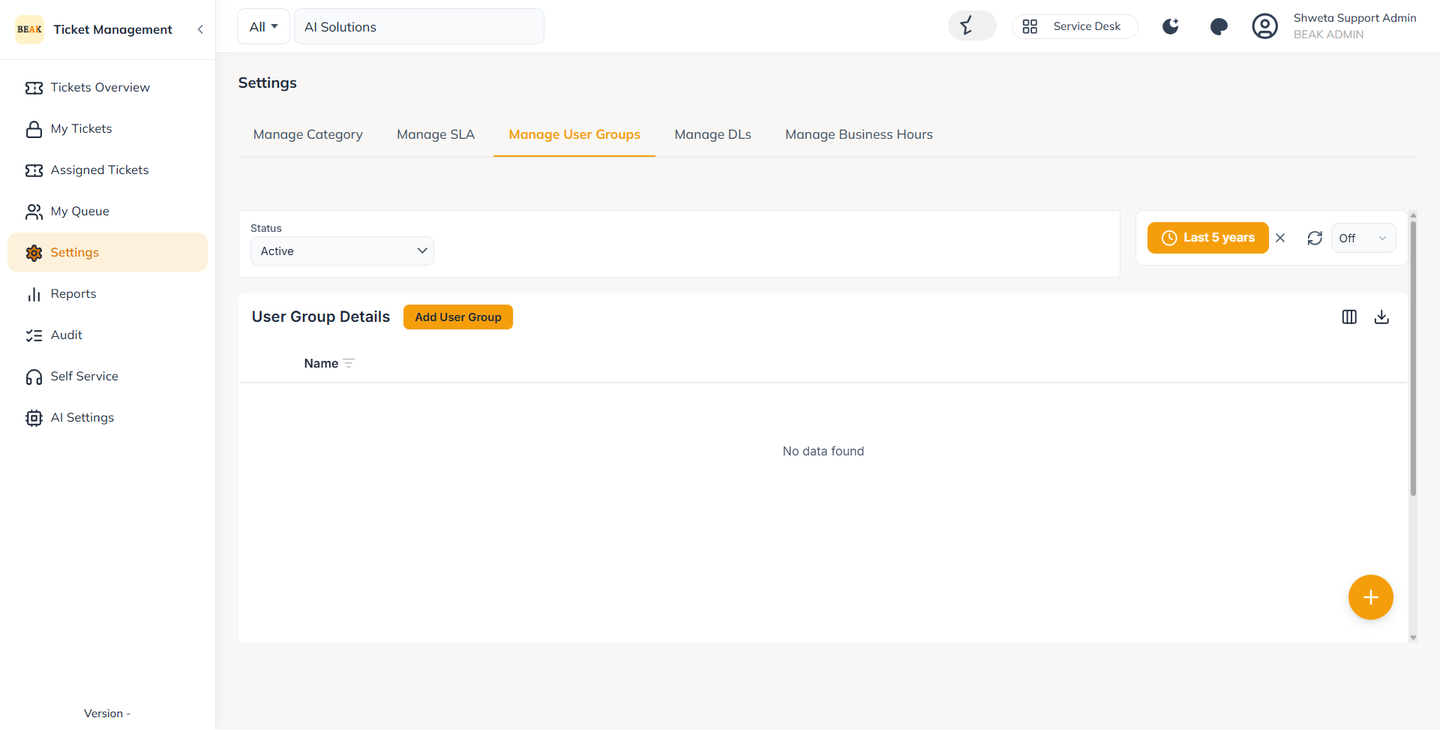
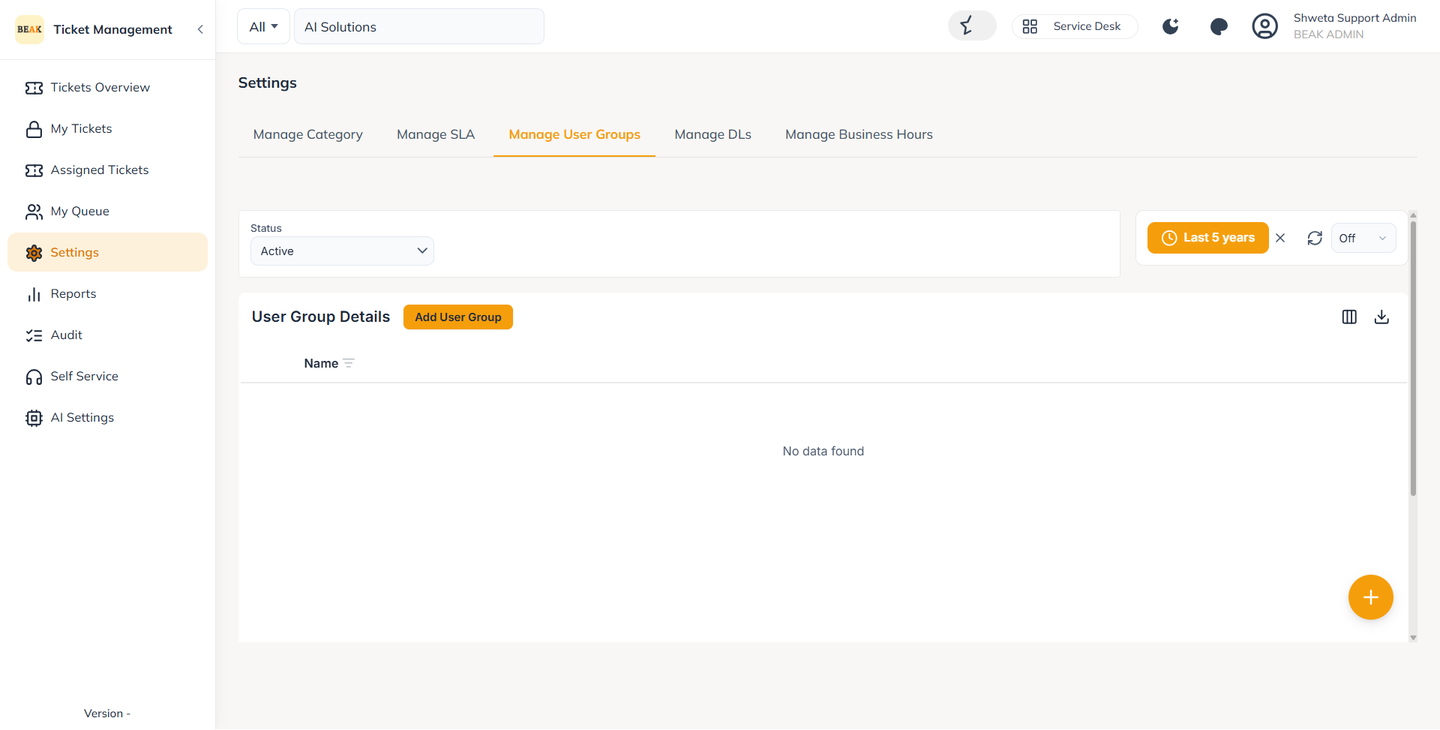
Group Management
The platform allows you to manage Groups and Sub-Groups according to your organizational structure.
Add Group and Sub-Group
- You can either add a new Sub-Group to an existing Group, or
- Create a new Group along with its associated Sub-Group
Edit Group Name
Rename existing Groups to reflect updated team structures or functions.
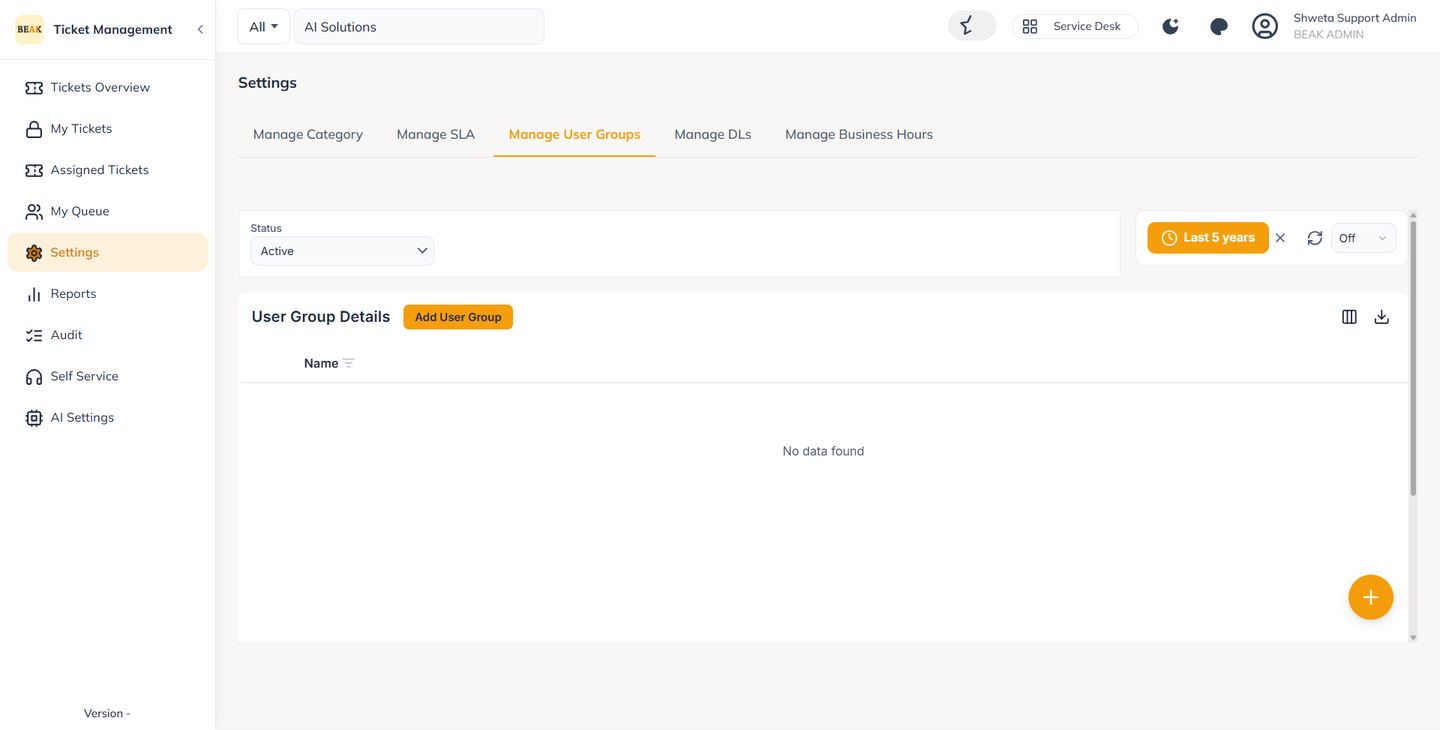
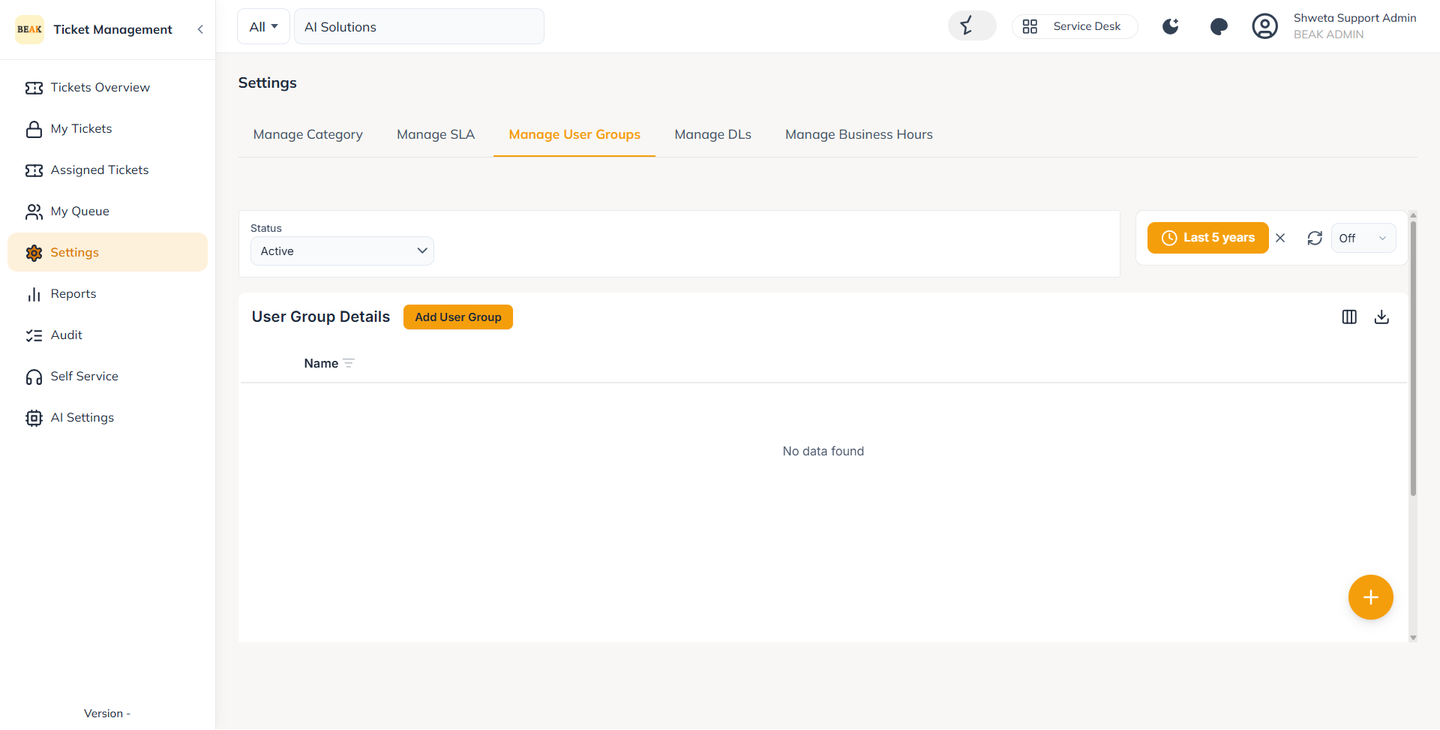
SLA Settings
You can configure or update SLA settings to reflect business expectations.
SLA settings define performance targets and resolution timeframes. Editing them allows administrators to fine-tune how service quality is measured and enforced.
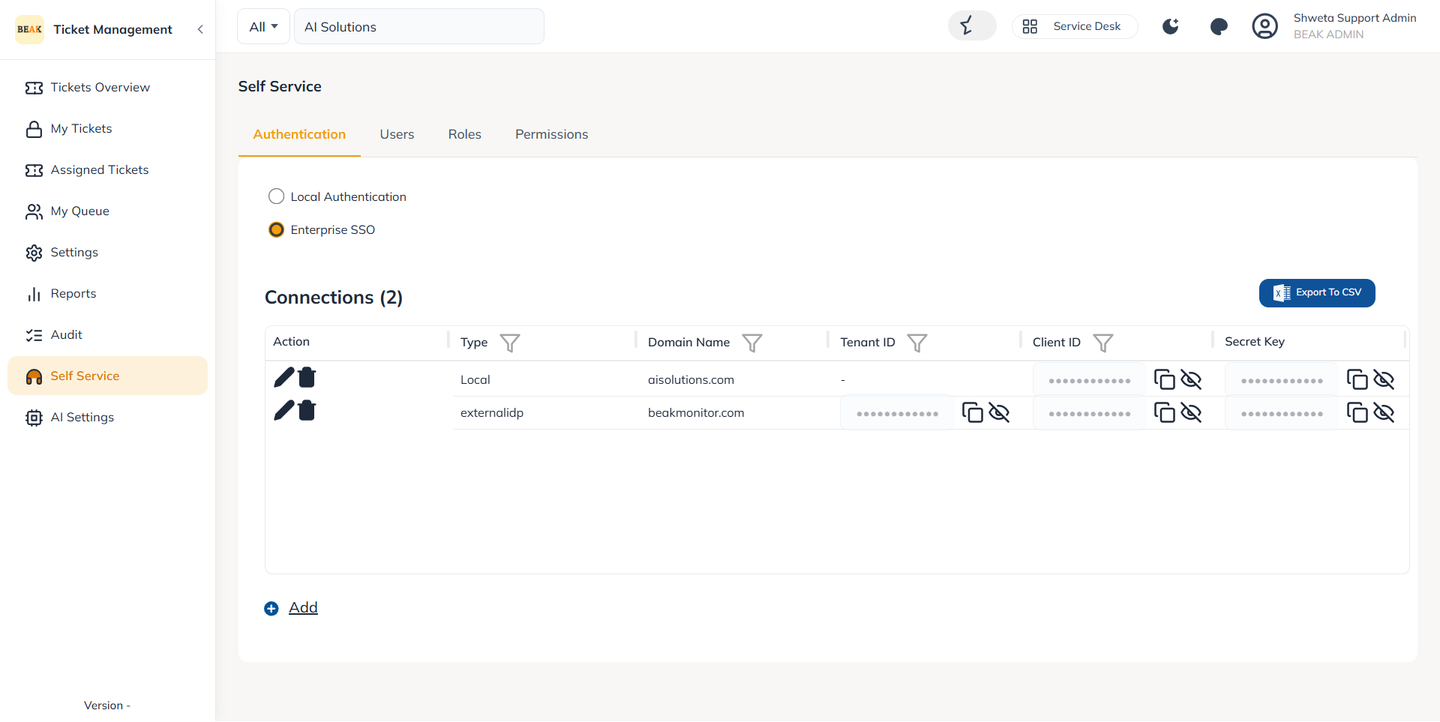
Self Service
The Self Service module empowers administrators to manage users independently. It allows you to:
- Create and manage users
- Assign roles
- Configure access permissions based on specific operational requirements